Introduction
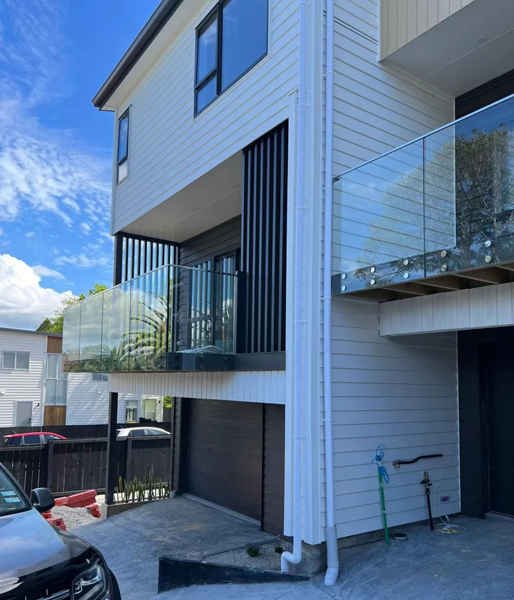
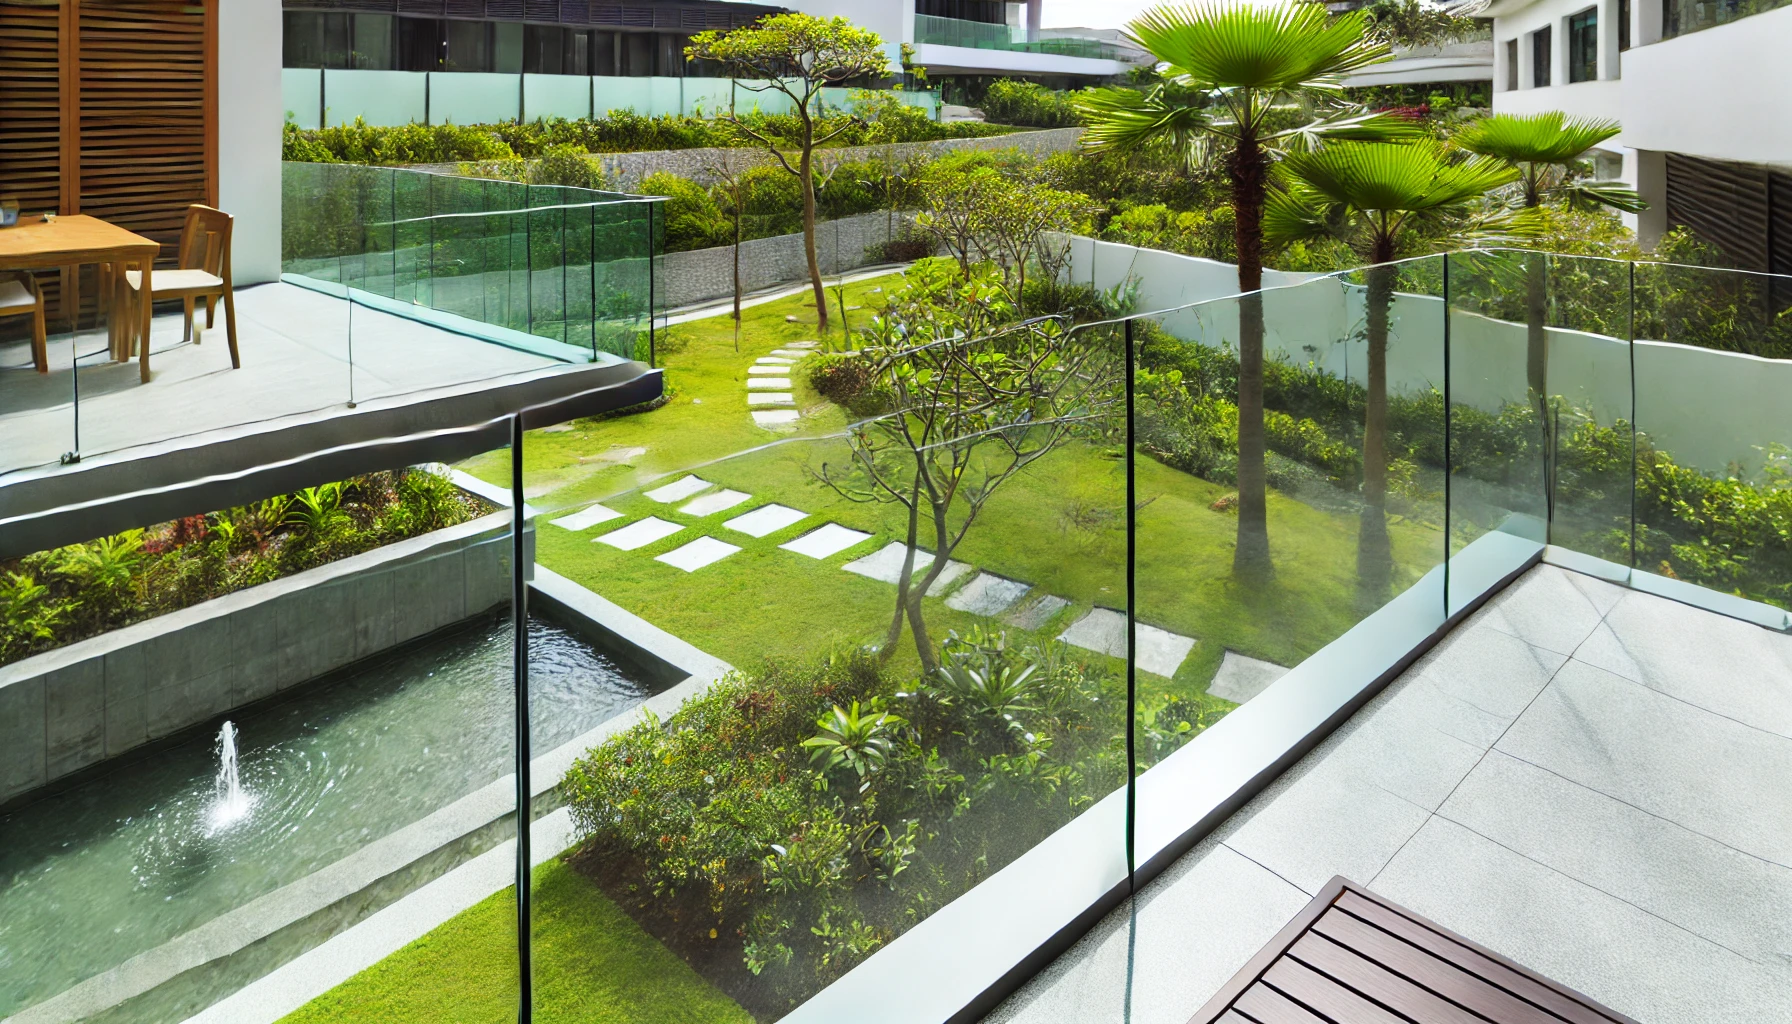
Glass railings are a popular choice in modern architecture, offering both aesthetic appeal and functional safety. However, the successful installation of glass railings requires careful planning, precise execution, and an understanding of potential challenges that may arise during the process. This article provides a comprehensive guide to the installation process of glass railings, along with common troubleshooting tips to ensure a flawless finish.
1. Pre-Installation Planning
Before beginning the installation of glass railings, thorough planning is crucial to ensure that the project runs smoothly and meets all safety standards.
- Site Assessment: The first step is to assess the installation site. This includes measuring the area where the glass railing will be installed, checking the structural integrity of the mounting surfaces, and identifying any potential obstacles or hazards. Accurate measurements are essential to ensure that the glass panels fit perfectly and that the railing is both secure and aesthetically pleasing.
- Material Selection: Choosing the right materials is vital. The selection of glass type (tempered or laminated), glass thickness, and hardware (posts, clamps, or base shoes) depends on the specific requirements of the project. For outdoor installations, materials should be corrosion-resistant and capable of withstanding environmental factors like wind and temperature changes.
- Design Approval: Once the materials are selected, the design should be finalized and approved. This includes determining the height of the railing, the spacing between panels, and any additional features such as handrails or lighting. It’s important to ensure that the design complies with local building codes and safety regulations.
2. Installation Process
The installation of glass railings involves several steps, each of which must be performed with precision to ensure the final product is safe, stable, and visually appealing.
- Step 1: Preparation of the Mounting Surface
Begin by preparing the mounting surface where the glass railing will be installed. This may involve cleaning the surface, leveling it, and ensuring it is structurally sound. For concrete or masonry surfaces, anchors may need to be installed to secure the posts or base shoes. For wood surfaces, make sure that the framing is strong enough to support the weight of the glass. - Step 2: Installing the Posts or Base Shoes
The next step is to install the posts or base shoes that will hold the glass panels. These elements must be securely fastened to the mounting surface, as they provide the primary support for the glass. Use a level to ensure that each post or base shoe is perfectly vertical. For base shoe systems, the channel should be aligned correctly and securely anchored to prevent movement. - Step 3: Installing the Glass Panels
Once the posts or base shoes are in place, the glass panels can be installed. Handle the glass with care to avoid damage. If using a clamp system, carefully insert the glass into the clamps and tighten them evenly to avoid putting too much pressure on any one point. For base shoe systems, the glass panels are inserted into the channel and secured with wedges or other fastening systems. Ensure that each panel is properly aligned and level with adjacent panels. - Step 4: Securing and Finishing
After the glass panels are in place, secure them with the necessary hardware, such as caps or handrails. Handrails should be attached to the top of the glass panels or posts, depending on the design. Finally, inspect the entire installation to ensure that all components are secure and that the glass is free of chips, cracks, or other imperfections.
3. Common Installation Challenges and Troubleshooting
Even with careful planning, challenges can arise during the installation of glass railings. Understanding these potential issues and knowing how to address them can save time and ensure a successful project.
- Challenge 1: Misaligned Glass Panels
Misalignment of glass panels is a common issue that can occur if the posts or base shoes are not installed perfectly level. To troubleshoot this, use shims or adjust the anchors to level the mounting surface. If the panels are already installed, you may need to loosen the clamps or wedges and reposition the glass. Ensure that all panels are evenly spaced and aligned before final tightening. - Challenge 2: Loose or Wobbly Posts
If the posts are not securely anchored, they may become loose or wobbly, compromising the stability of the railing. To fix this, check the anchors or bolts securing the posts and tighten them as needed. If the mounting surface is weak, you may need to reinforce it or use stronger anchors. In some cases, the post itself may need to be replaced if it is damaged or not strong enough for the load. - Challenge 3: Glass Panel Breakage
Glass panels can break during installation if they are handled roughly or if too much pressure is applied. To prevent breakage, always handle glass panels with care, using appropriate lifting tools or suction cups. Ensure that clamps or base shoes do not exert excessive force on the edges of the glass. If a panel does break, replace it with a new one, ensuring that the cause of the breakage is addressed to prevent recurrence. - Challenge 4: Water Accumulation in Base Shoes
In outdoor installations, water can accumulate in the base shoe channels, leading to corrosion or weakening of the glass. To prevent this, ensure that the base shoes have proper drainage. You may need to drill weep holes or install a drainage system to allow water to escape. Regularly inspect outdoor installations for signs of water damage and address any issues promptly.
4. Post-Installation Inspection and Maintenance
Once the glass railing installation is complete, a thorough inspection should be conducted to ensure that everything is installed correctly and meets safety standards.
- Inspection: Check all glass panels for alignment, stability, and any signs of damage. Ensure that all posts, clamps, and other hardware are securely fastened. Verify that handrails, if installed, are securely attached and provide adequate support.
- Maintenance: Regular maintenance is essential to keep glass railings in good condition. Clean the glass panels regularly to remove dirt, fingerprints, and other residues. Inspect the hardware for signs of wear or corrosion, especially in outdoor installations. Tighten any loose components and replace any damaged parts as needed.
Conclusion
Installing glass railings requires attention to detail, precise execution, and the ability to troubleshoot common challenges. By following the proper installation steps and addressing potential issues proactively, you can ensure that your glass railing not only enhances the beauty of the space but also provides safety and durability. Regular maintenance and inspection will further ensure that your glass railing remains in excellent condition for years to come.


